The Wollongong crew held an antweight event at the Convoy4Kids charity event on 29th October.
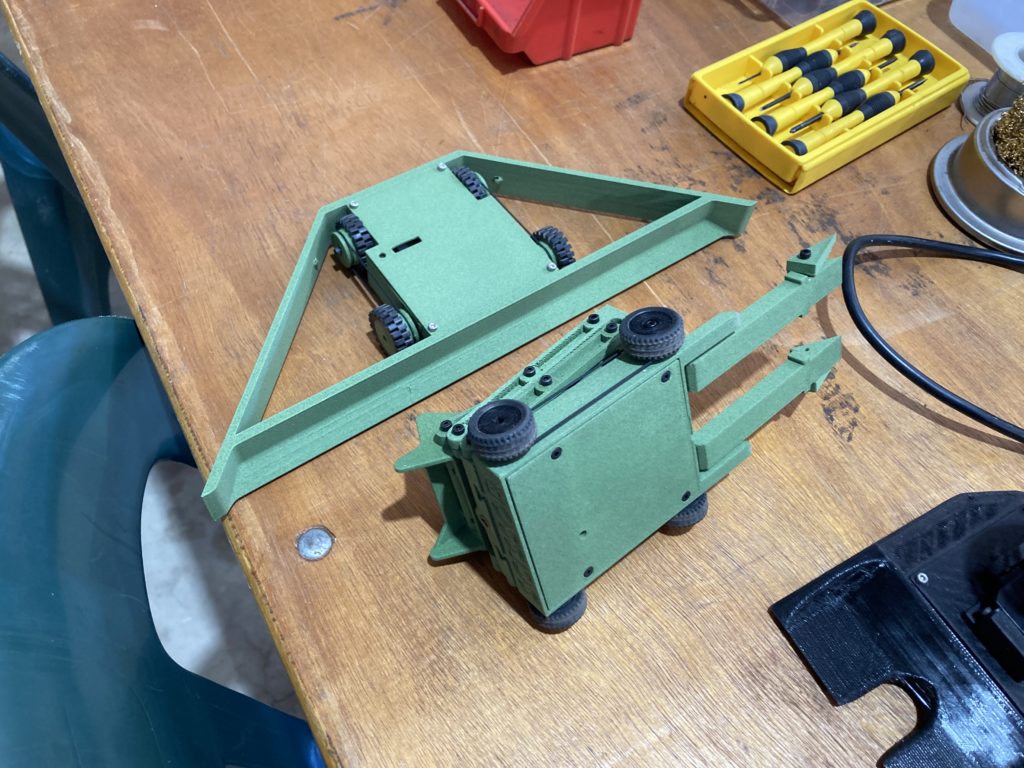
I dug out some spares last minute and tried to put together Little Red Flipper (a prototype OG Botbitz GreenAnt kit).
It turns out I was missing a lot of parts…
The flipper servo.
The servo linkage.
The 2S batteries were dead.
The RX was missing.
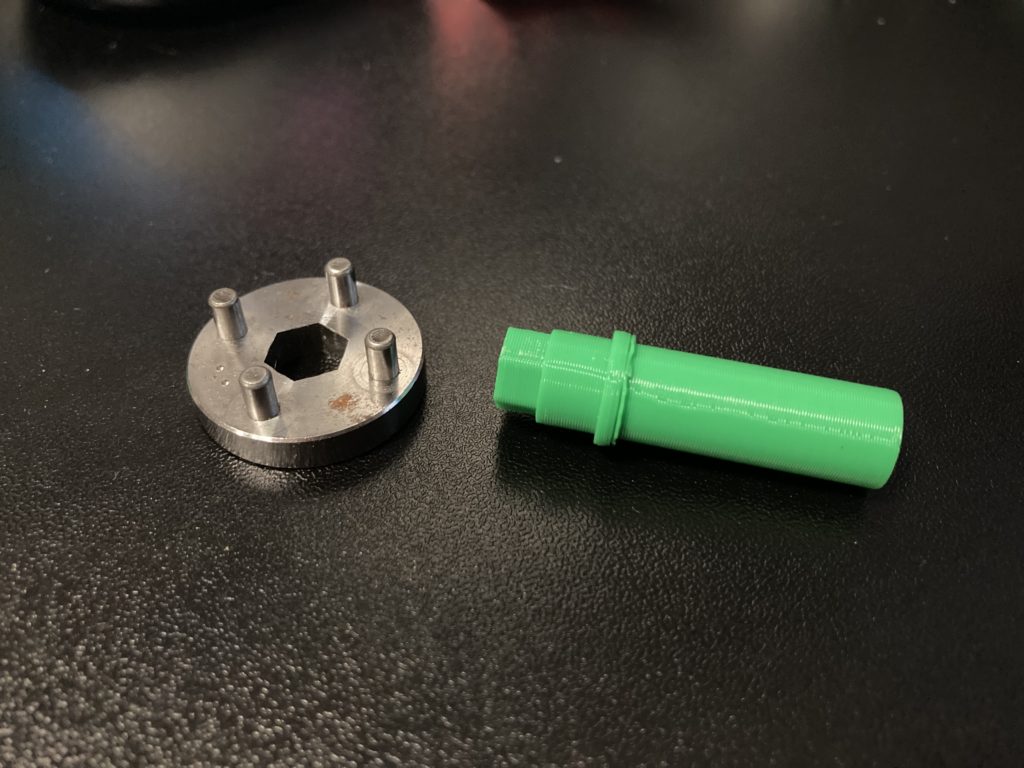
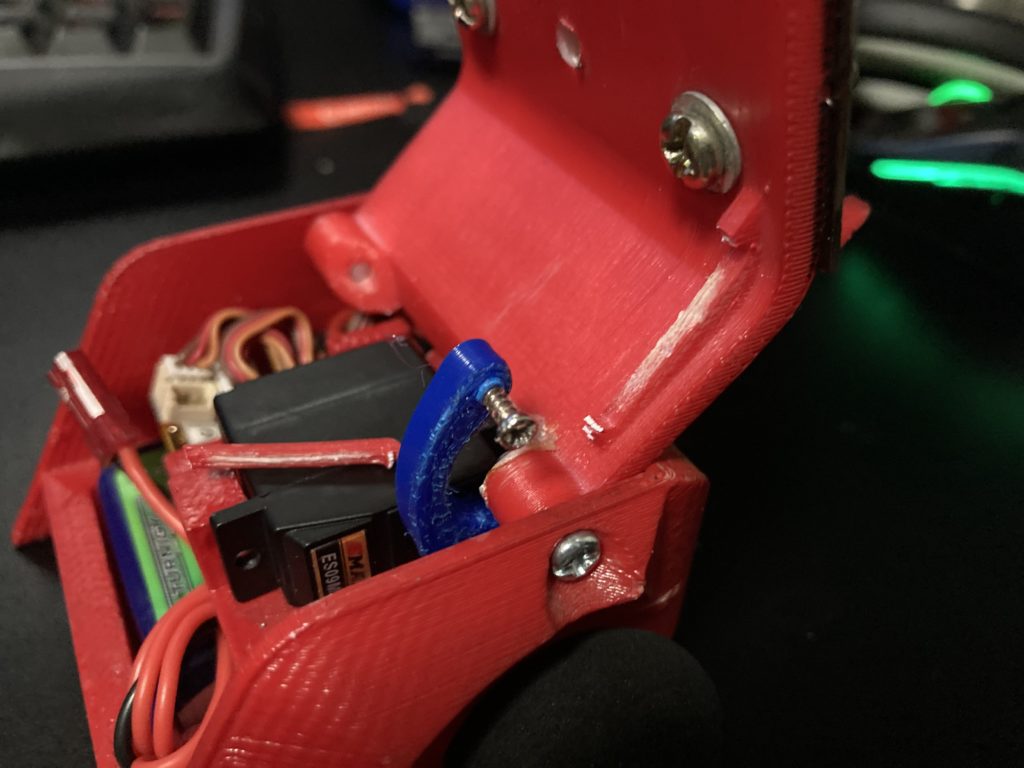
First up was to print a linkage as I had the cad for it, however the servo I bought had a different spline. It took 8 goes to get it right for a press fit that worked…

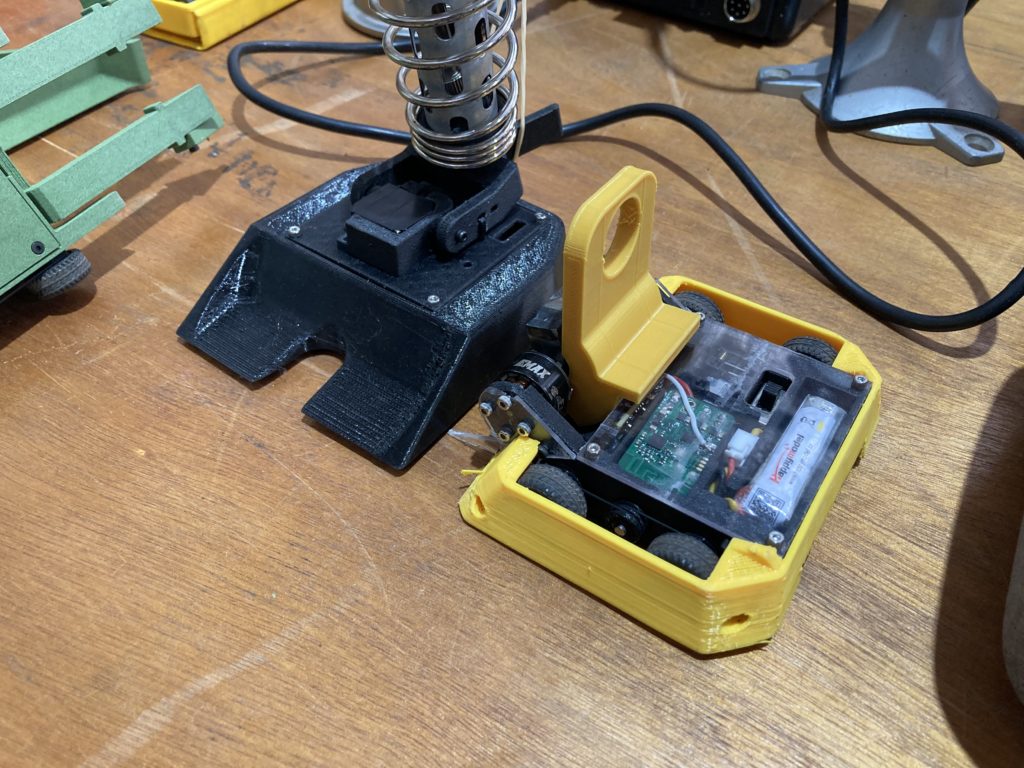
The RX I found that would work in this robot uses micro leads, so I needed to remove the standard JR leads from the servo,
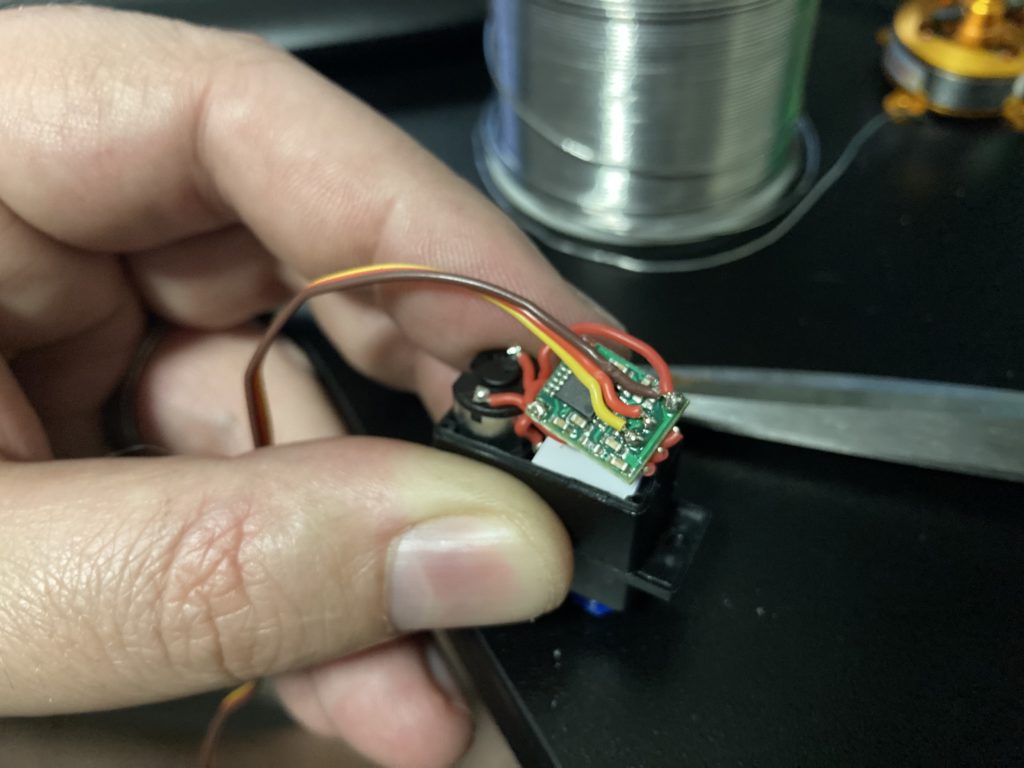
Micro lead attached.
I’ve not got a small iron these days, so doing this smaller soldering results in some burnt fingers and swearing. Need to order a smaller iron for this kind of work.
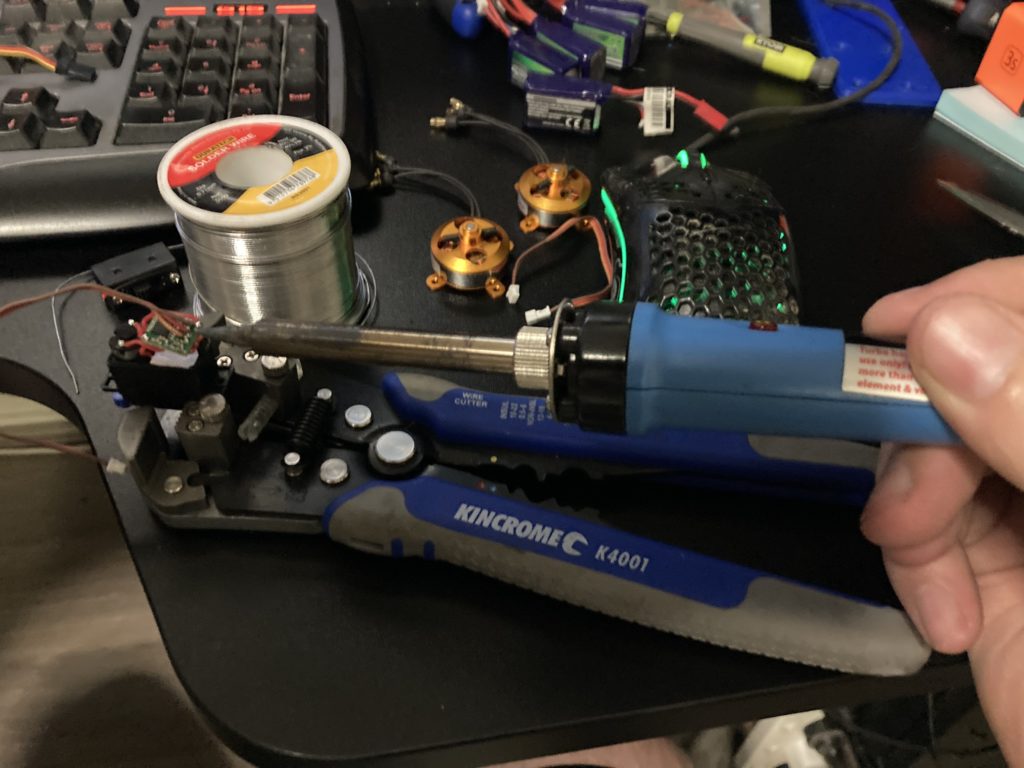
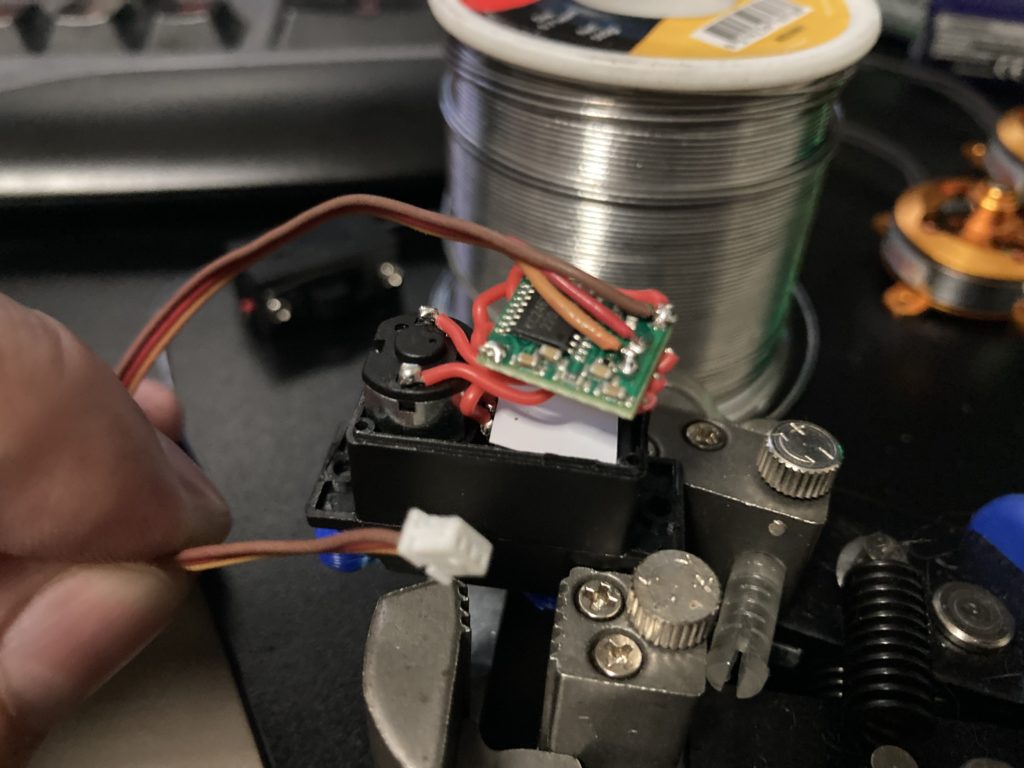
The BotBitz 10A’s needed the same treatment, getting a pair of micro leads.
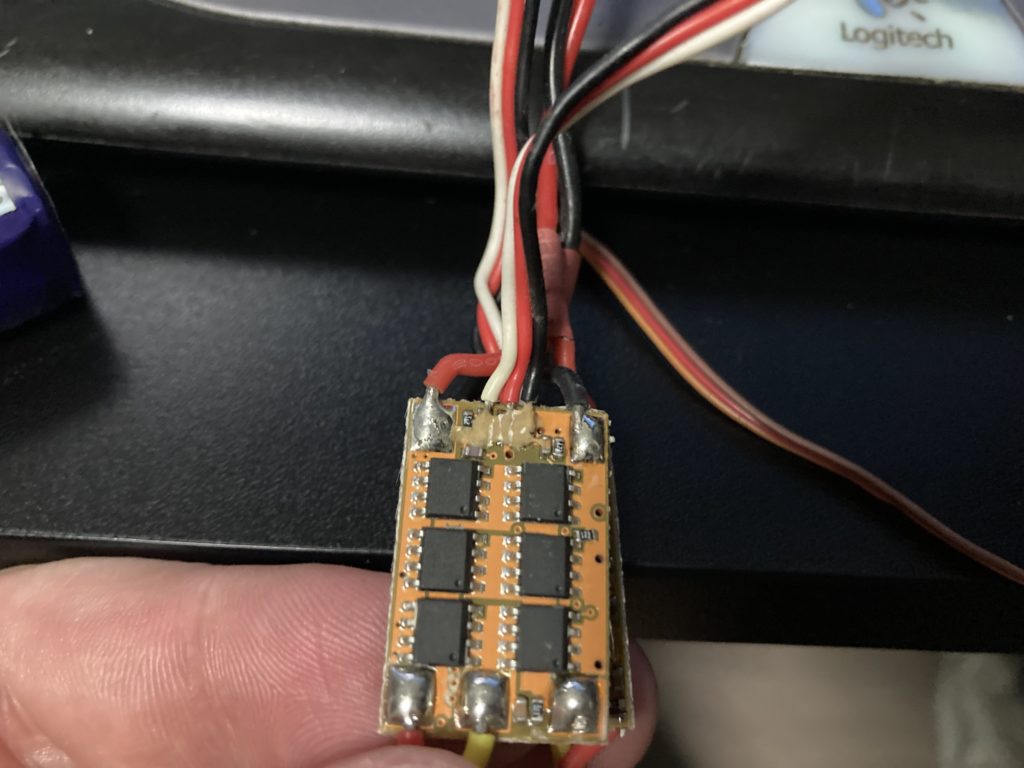
Leads done!
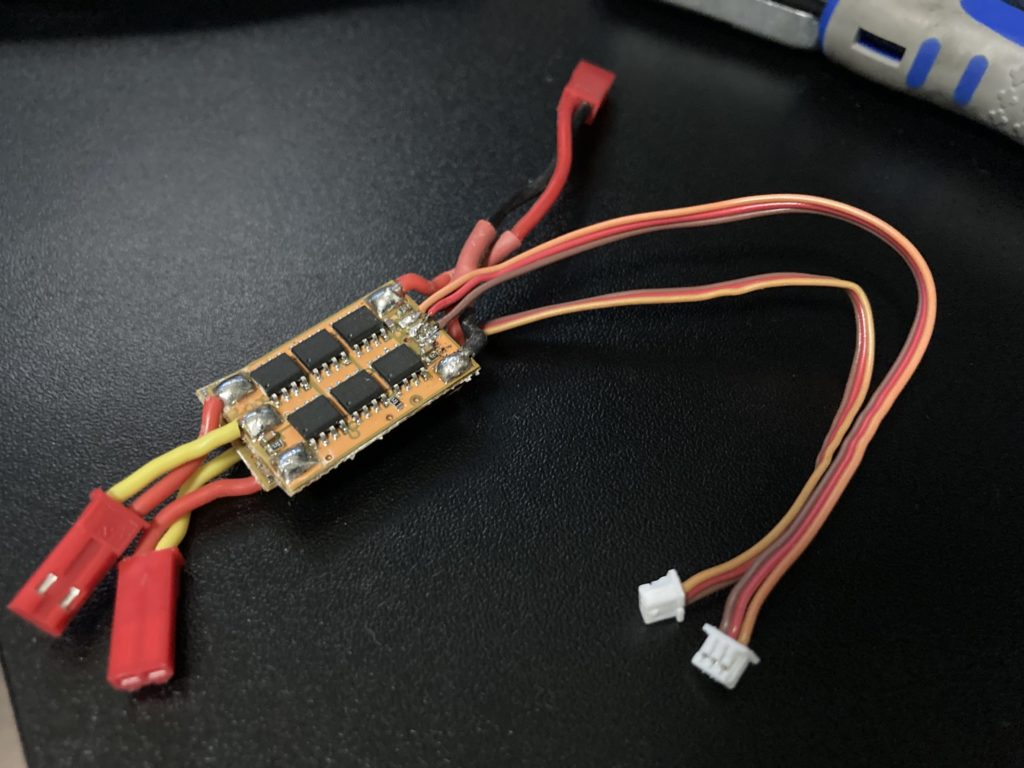
And shrink wrapped.

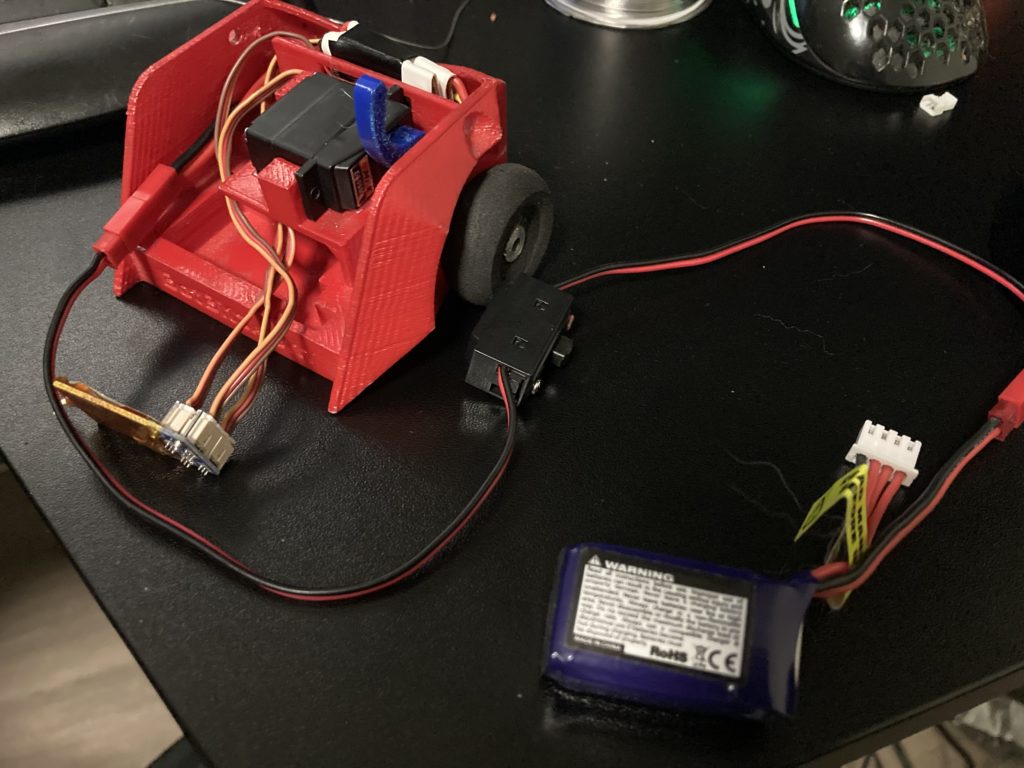
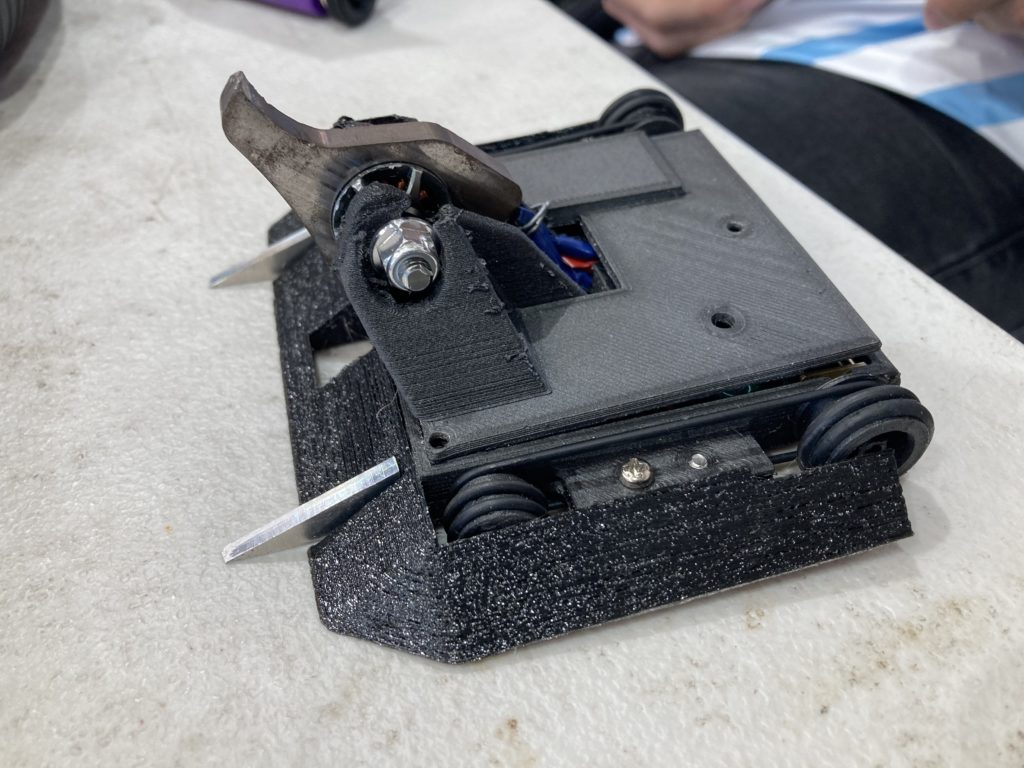
With no 2S batteries, I substituted a 3S battery and prayed nothing exploded.
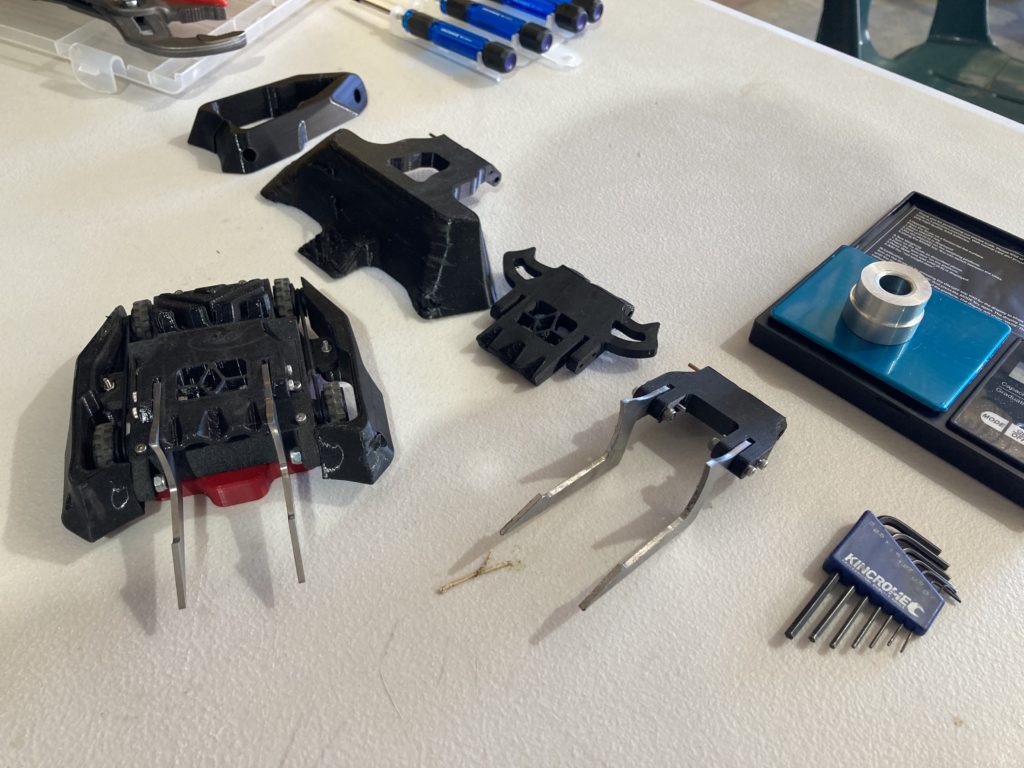
While trimming up the servo position for the flipper, I broke the flipper mechanism….
It was 10pm by this stage, so I designed to flick a message to a friend and see if he could print one from CF Nylon over night and bring it to the event for me.
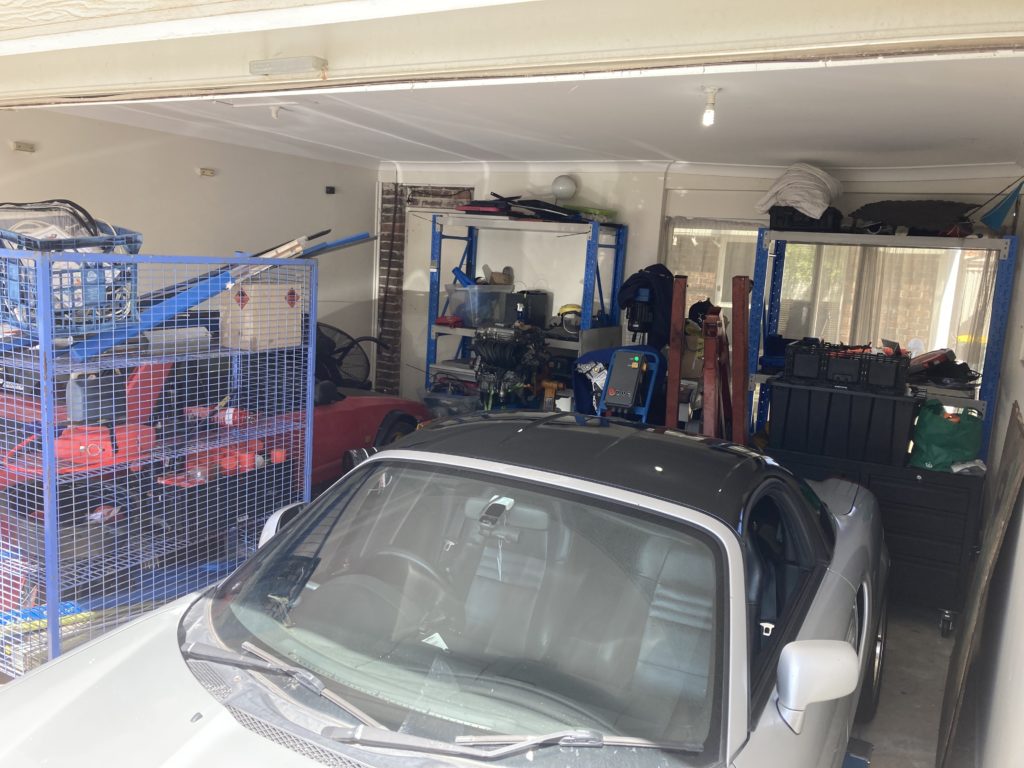
I packed up the bot and all my gear, loaded the car and went to bed…
I arrived nice and early to find the event organisers setting up the arena. 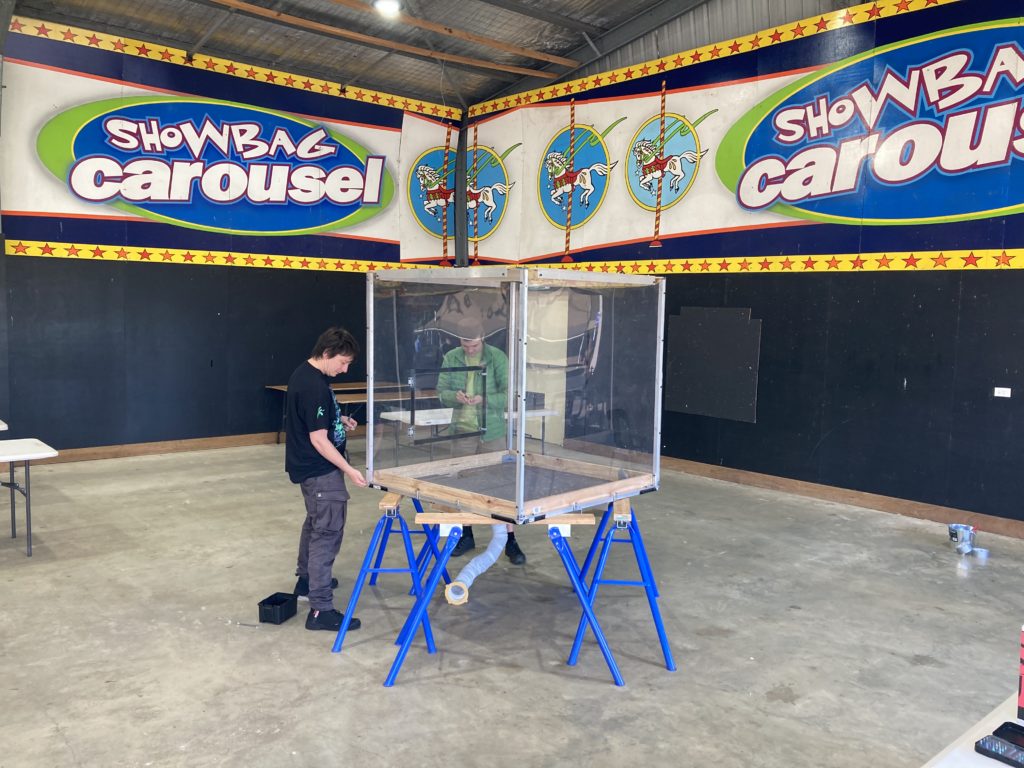
I setup my gear and my static display of Scarlet’s.
Sitting there, waiting for the spare parts.

Soon other builders arrived and we started getting some bot appearing!
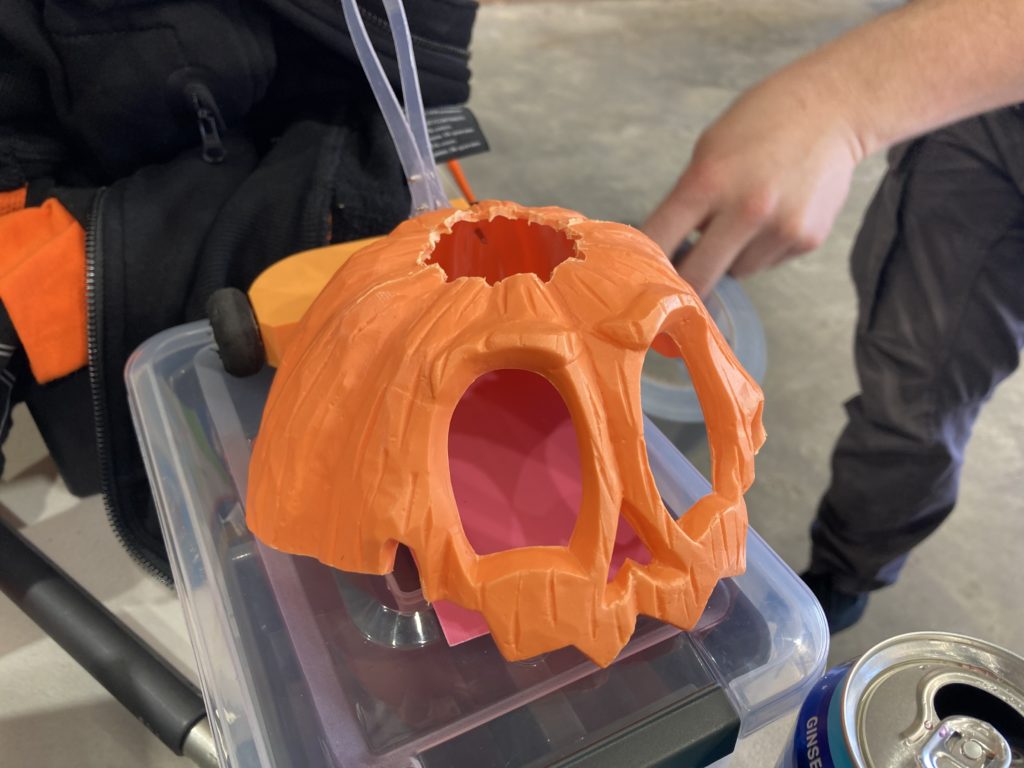
Pumpkin Wumpkin
Subdivide
Midnight Sun
Skelliwedge
Tossboss
Steelstorm 2 and Pokerface
Naughty Corner and Scissor
Spikeywacker

Mr Obvious

Deadline
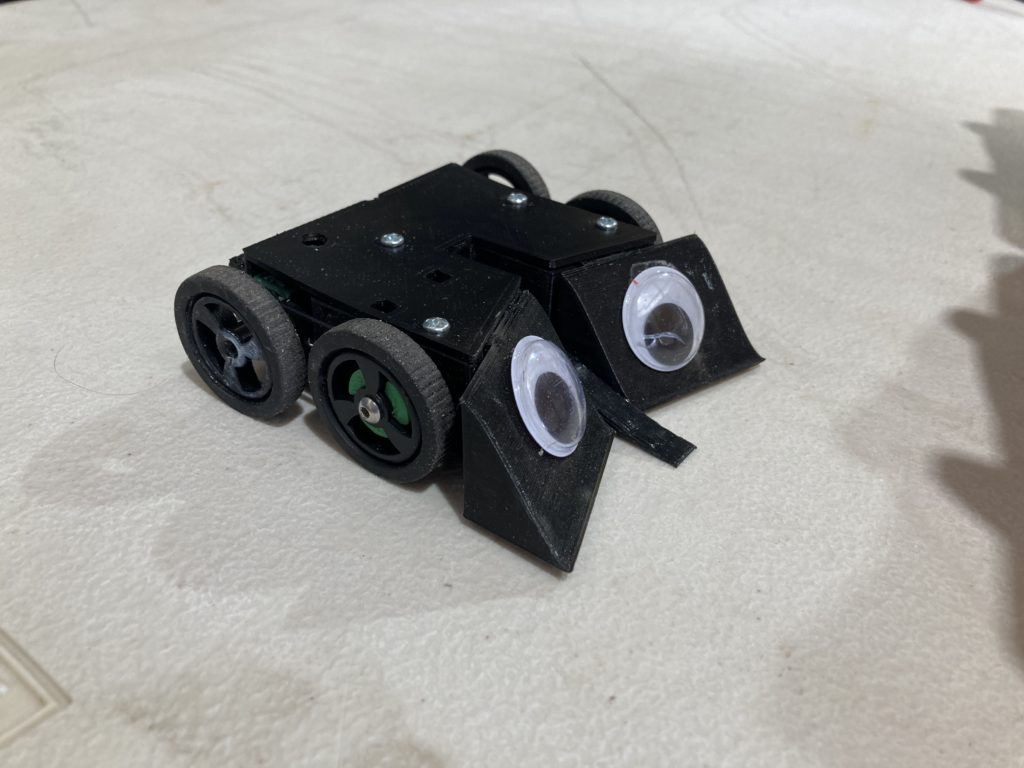
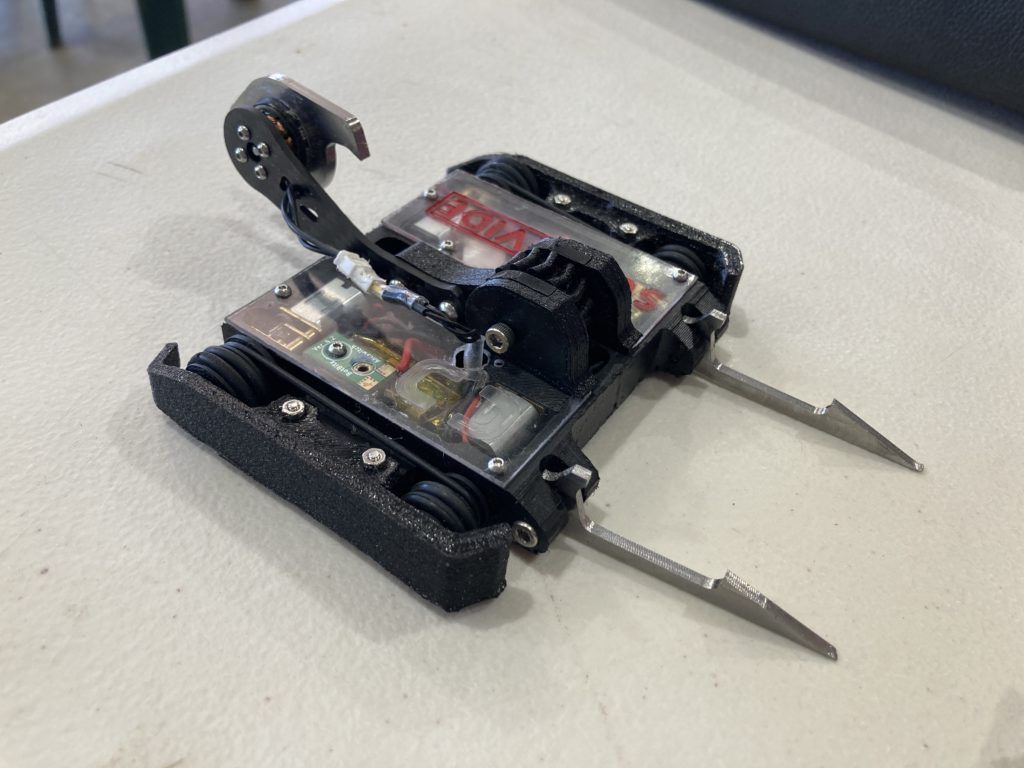
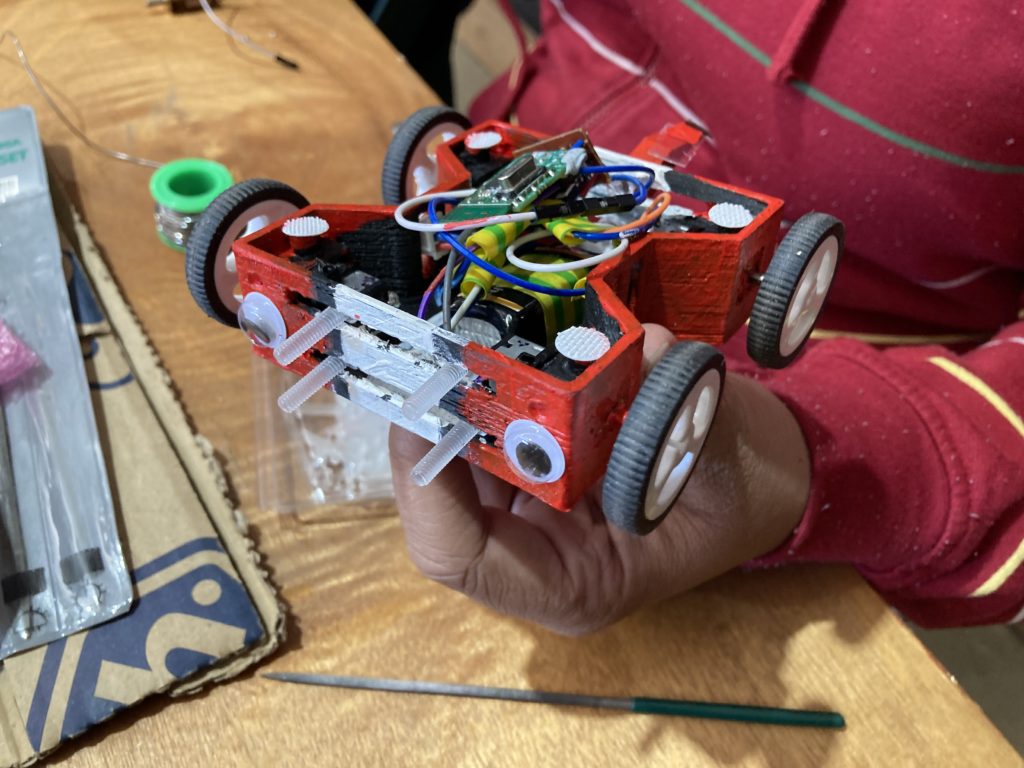
The replacement flipper arrive and I assembled Little Red Flipper as quick as I could.
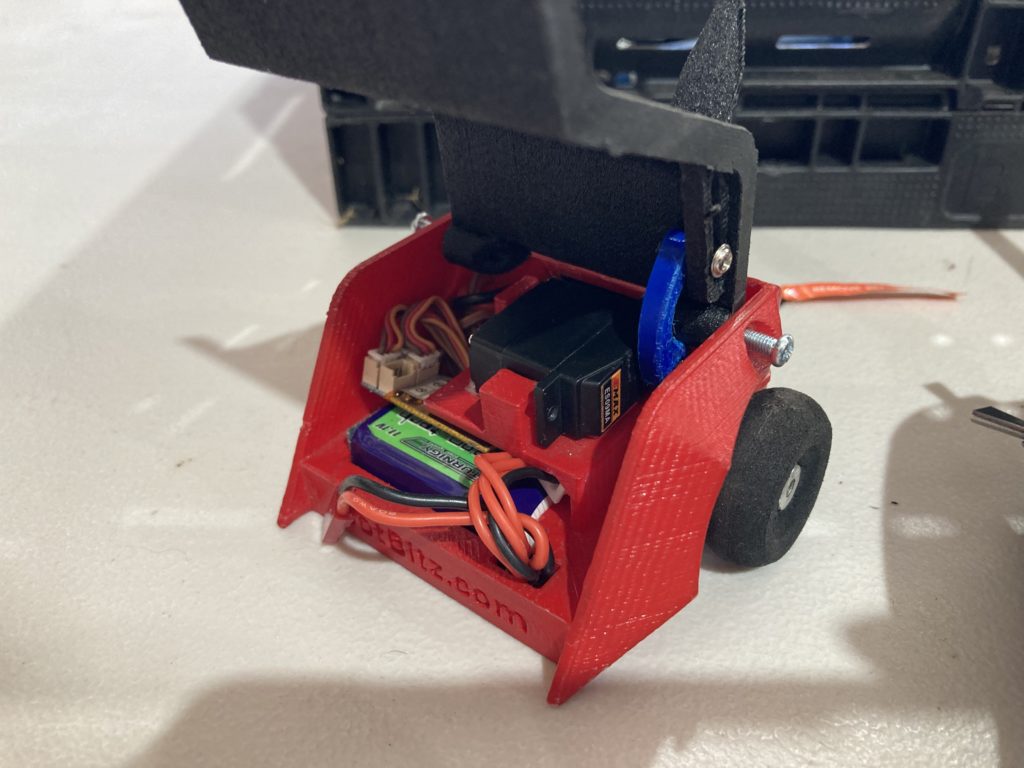
However I ran into something odd. The servo was only travelling 50-60% throw, which prevented the robot from lifting all the way up and self righting 🙁
The other issue was, it would not failsafe correctly. Despite being bound to the transmitter with the drives in a neutral position, the motors kept creeping. Not something I (nor safety) could allow.
So I sat down for the day and watched all the fights, before getting a chance to sneak Little Red Flipper into the end of day rumble for the non-destructive class.
Sadly it was flipped and could not self right and then ended up going down the pit :P. Highlight of the day, I was given the change to drive Tossboss in the rumble for the destruction class (Tossboss had just won the main event!) and was one of the last 3 bots standing!
There is a Youtube playlist of fights here: https://www.youtube.com/watch?v=8pwNudQRKW8&list=PLsvGjWpWp4gw241sEkaBS_2TH9emZeUNs