Knightrous – Build Part 4

It bucket rain today and flooded most of my outside work space, so I retreated inside and worked on designing some parts to make in the future, like the weapon gearing.

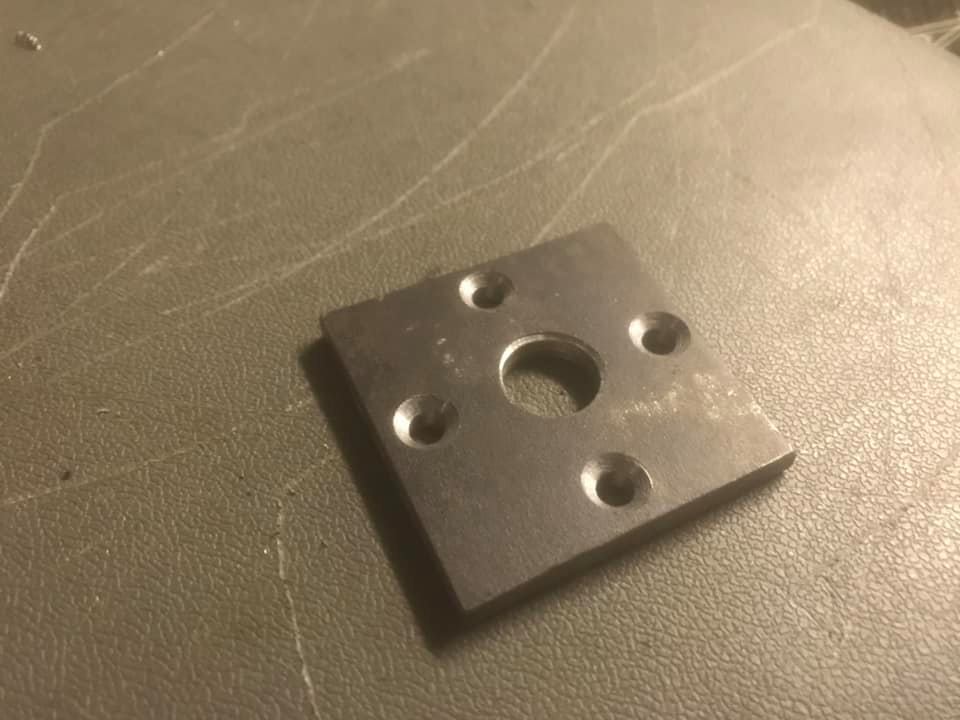
The weapon first stage gearbox needs designed, so a quick bit of cad work produced this, the front bearing block which houses two 22x10x6 bearings and captures the ring gear.

Front side has sunken bolt holes to bolt the whole assembly together.

Putting the Banebots P61 4:1 parts into the front block.

Adding the main bolts

With this done, it’s time to design the rear block for the motor.

Designed this to center the motor with the ring gear, capture the motor screws and align everything together.

Bolting up the motor.

Ready to assemble the two halves.

Screws are oversized, but will order smaller ones once it is all finalised.

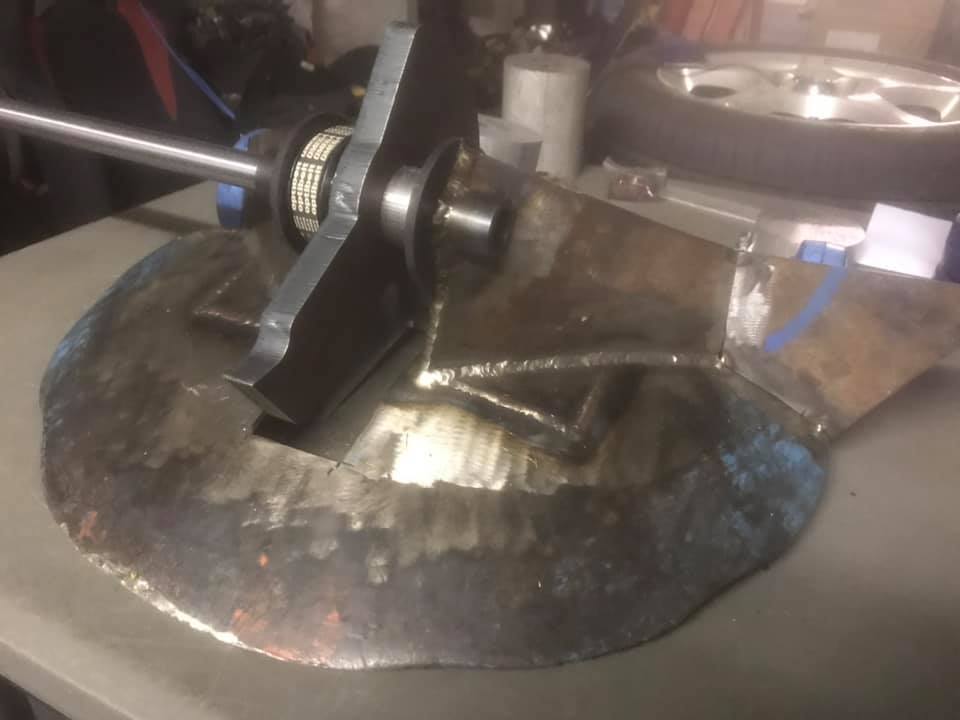
Printed out a shaft to work with the hex output for the Banebots.
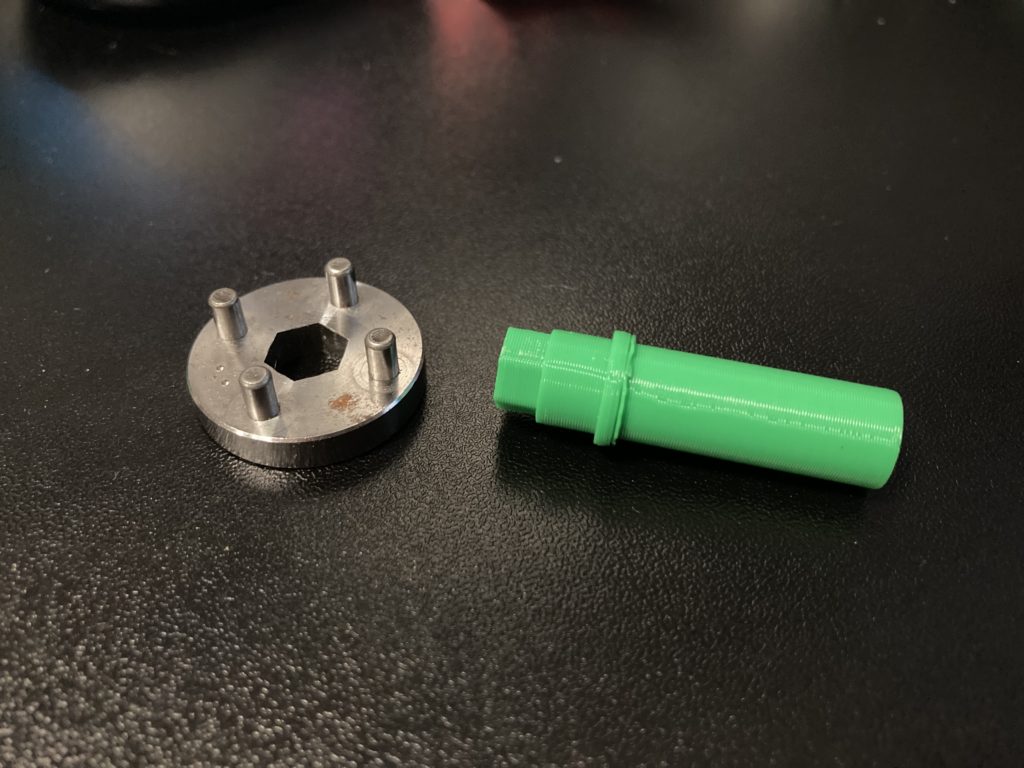
It fits perfectly.

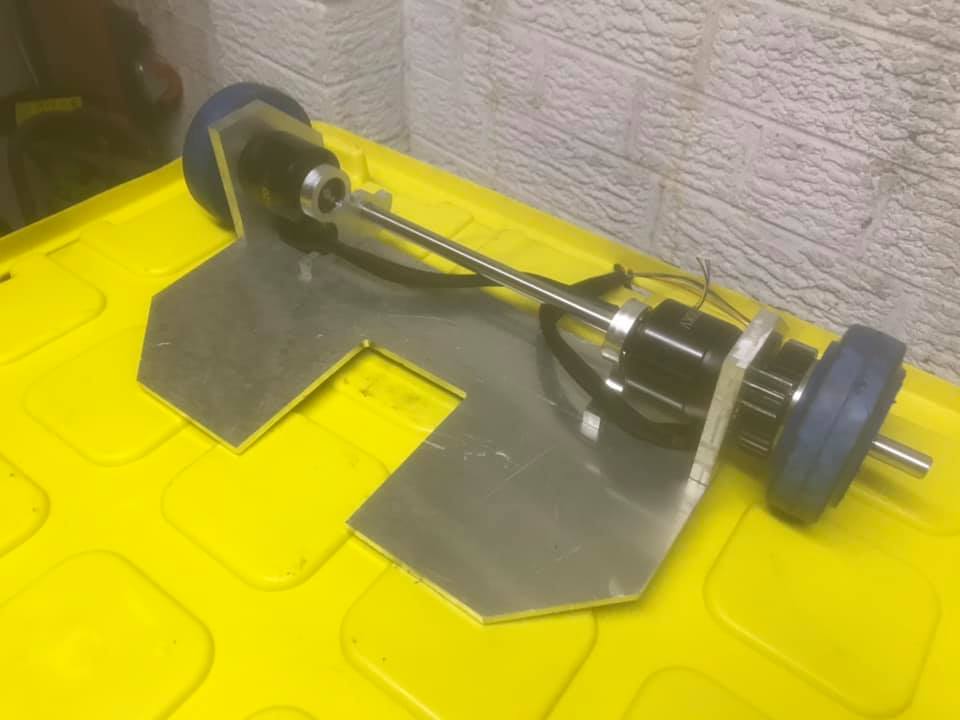
Next up I printed some HTD5 pulleys, a 16T for the motor gearbox and both a 30T and 32T to play around with what works best for the weapon end.

Running the calculations, the 32T is likely going to be the best one to use as it gives a neat 8:1.

Till next time.

Knightrous – Build Part 3

After tack welding the two half bots together, a few things became apparent.
1. It weighs 9.3kg already….
2. The weapon cannot be serviced as the weapon shaft cannot be removed in this position and there for cannot swap the bars or belts.

So I cut the existing mount and supports out.

There is actually a fair bit of weight in these two support plates, they are made from 5mm Hardox 500.

I’ve replaced the inner support of the chassis with some lightweight 20x20x2mm box section

The new weapon uprights will be made from 50x20x2mm RHS which will have a steel insert welded into them to support the weapon shaft.

These get a 25mm hole drilled into them.

A quick test fit to see what position will keep the weapon forward enough but also allow the shaft to be removed.

Some of the old chassis will be welded to the front like this (but not as much) to add some strength and armor to the front the robot.

Other than the fact that the robot is a little heavy, I noticed that the gas bottle chassis is rather oversized for what has to go inside.

I’m considering that I might cut 80mm off the front of it all to allow the center line of the gas bottle to butt up against the rear of the weapon upright.

This will compact the robot a bit, allow more armor to be added and also assist in self righting via the weapon.

Till next time!

Knightrous Wedge: The Vertical Slice – Part 9

It’s been a bit quiet here as we’ve been busy!

Quickly CNC’d up some motor mounts and supports for the drive

Started machining the weapon hub

Then drilling it out

Then boring it

Then making some bushes

Bushes pressed into the weapon hub, then the assembly pressed into the weapon bar.

A quick dummy fit.

Picked up the weapon belts. HTD 5M-325-15

Machining the weapon timing pulley. A 36T pulley to give the weapon a 2.4:1 reduction.

A quick dummy fit again.

The weapon motor mount… an after thought…

After cutting the upright and tack welding it in.

Motor mounted

Belt fitted.

3D printed jigs are awesome.

Drive mostly ready.

Knightrous Wedge: The Vertical Slice – Part 8

Another update!


Batteries arrived, this will give Knightrous a 12S 2.2Ah capacity.


This decision was something I had been holding off, on doing for a while, but it became inevitable with the requirements for this robot. The drive and wheels must go close to the weapon axis and it needs more space to fit them. So the original chassis and wheel guards had to be removed….


This left it looking very bare, but it did make space!


I’m still undecided on which drive configuration I’m going to decide on.


The spur gears are a very simple setup, uses off the shelf parts and will be easy to repair and service


The planetary gearboxes are more expensive, require some modifications but have a nice and simple form factor that suits the robot.


The new wheel guards tack welded in. More bracing and reinforcement to come!

Knightrous Wedge: The Vertical Slice – Part 3

Sent the Hardox 500 uprights off to Glen to have 30mm holes bored into them for the weapon shaft bushes to fit Then tack welded the assembly back onto the chassis for alignment.

Started making an MDF template for the side armour/brace. It’s an awkward shape.

First one cut from yet more Hardox 500. A few errors in the temeplate will require a bit of gap filling with the welder, but that happens Razz

Closer but the gaps are pretty noticeable from here…

Both sides cut out, aligned into place and tack welded.

And once again a quick reminder on where things should go….