Legnum – Sump Replacement

While I was swapping the transfer case, I decided to replace the bashed sump that leaked with a brand new one.

Virgin pan, I might actually cry if I ding this in the future….

Motor has a bunch of sludge in it still, scraped some off while cleaning up the sump sealing surface.

Slazed some Permatex Grey sealant on and sent it.

Gave it 5 ugga duggas and called it done.

Till next time.

Legnum – Transfer Case Swap – Part 2

I decided to pull the inspection cover off the old transfer case to confirm it was indeed damaged. Yep, it’s munted.

Metal all over the inspection plate.

Decided to check the new transfer case, it was fine thankfully.

Clean inspection plate.

After getting in a comfortable position to lift the transfer case, it went on pretty easily. Putting in the bolts finger tight to stop it falling back off.

Then torqued the case bolts up to 65Nm

Stub shaft reinserted into the gearbox and transfer case, then the driveshaft and started bolting all the suspension back on.

The suspension took a couple of hours as I had to fight the coil covers a couple of times to get the bolts to line up and one ball joint refused to seat properly and would not tighten up. I also took the time to replace the 3 piece tail shaft with a spare.

Transfer case topped up with fresh fluid (650ml!) and ready to go!

Till next time.

Legnum – Transfer Case Swap – Part 1

Been procrastinating a bit on this job, but it was time to face the music.

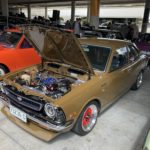
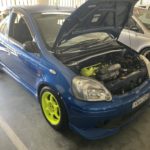
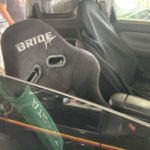
GC8 was bumped outside, Legnum in and lifted up.

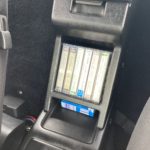
Unpacked the new transfer case to make sure there was no obvious faults.

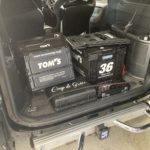
Bought some new toys for this job, make removing driveshafts and the transfer case easier

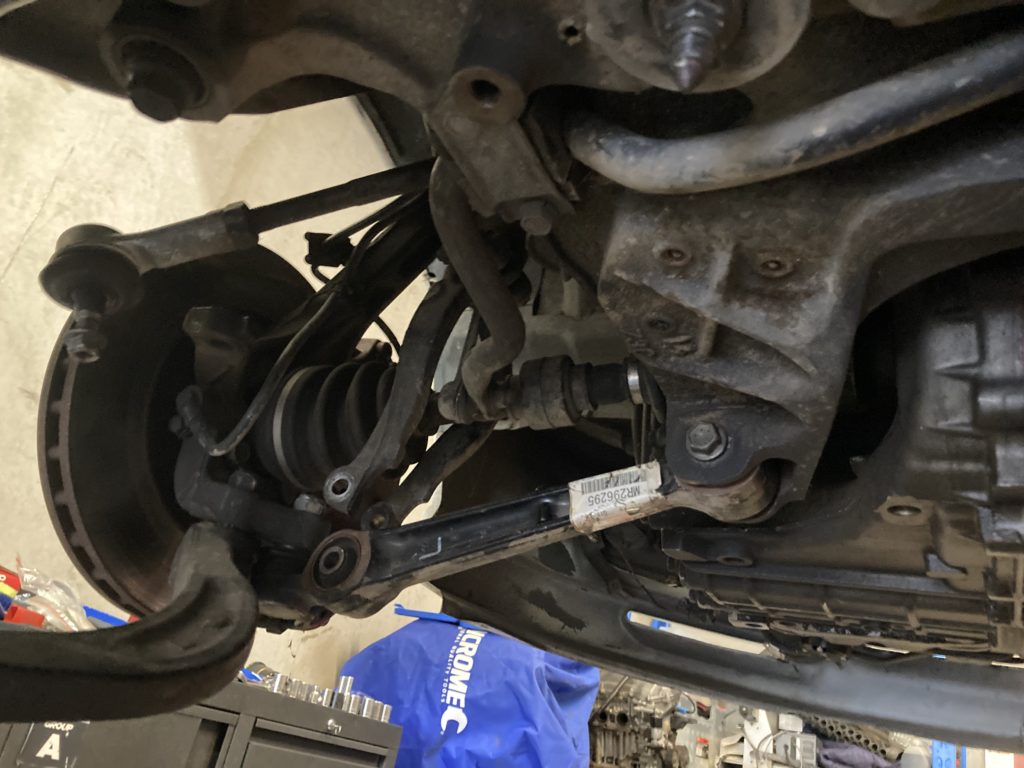
Unbolted the lower control arms and popped the passenger drive shaft out, then used a ratchet strap to tie it out of the road.
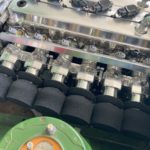
This side needs to be removed to pull a long stub shaft out of the gearbox which goes threw the front diff and into the center diff (inside the transfer case).

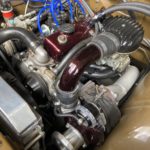
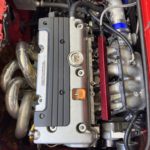
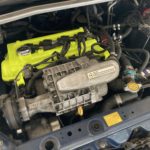
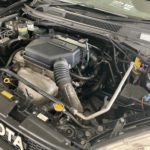
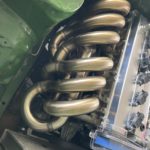
Y-pipe off and out of the way. I always thought the Y-pipe on the 1MZ was bad, but this is a proper abortion…. I really want to make a new version!

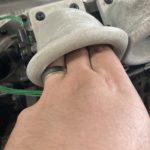
Another new tool for the job.

Of course it did not have the right attachment for what I needed. Found one of the attachments that would work, drilled an 8mm hole in it and fitted a M8 head bolt from a 1MZ into it. Threaded that into the stub shaft, couple of bangs and out she came.

Quick test fit into the new transfer, fitted nicely.

Let me share a fail….When I replaced the lower control arms, I did it with the engine out. I accidentally put this bolt in backwards… Trying to remove it means it just hits the sump.

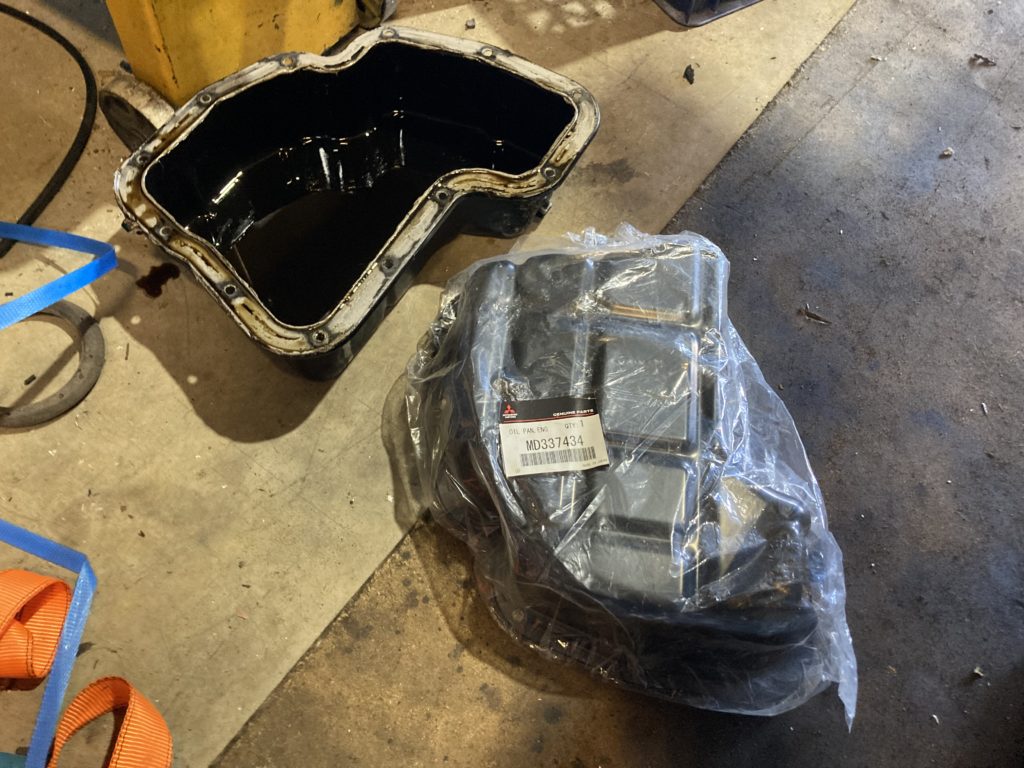
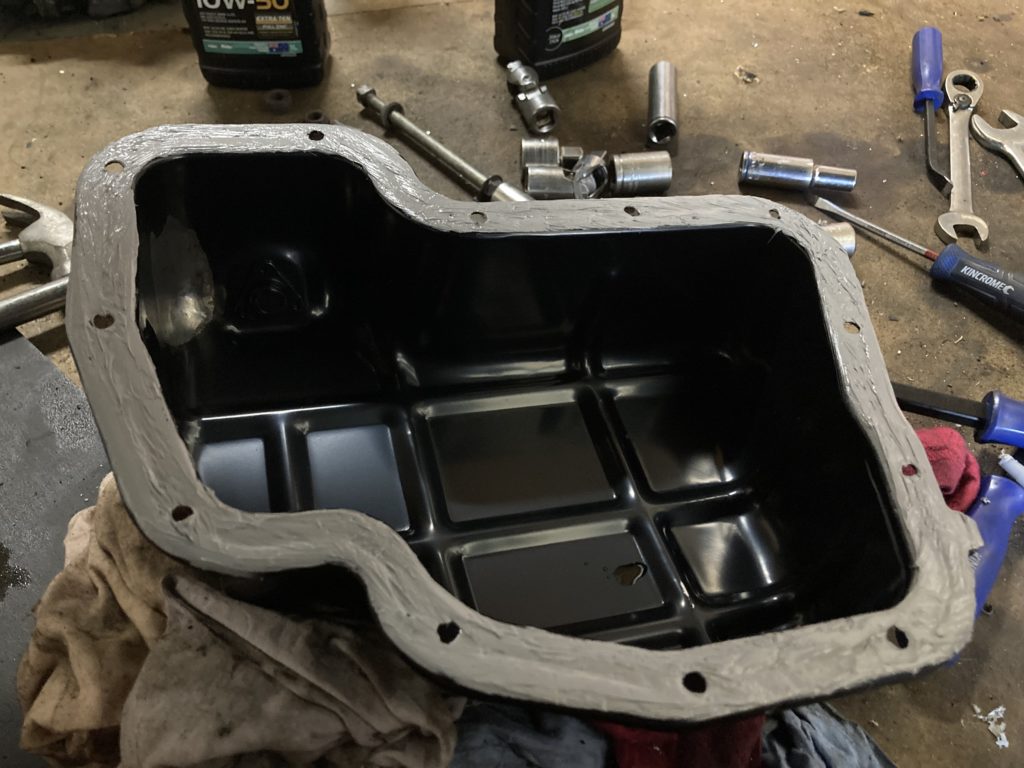
This sump has been hit before and leaks oil, I have a brand new one on the shelf ready to go… So lets hammer the sump to clear the bolt 😀

Ta da!

The transfer case is held on with 6 bolts and 1 of them is right in a painful spot, but with a little flexing of the turbo drain pipe, we managed!

Ok… Well maybe it was before it failed 😀

Old on the left, new on the right. Tomorrow I put it in!

Till next time!

P2 Supercharger – The Gearbox – Part 2

After the initial CADing, I soon found that the holes where not evenly spaced.
I did a bunch of printed test jigs to get the hole pattern worked out.

Once the pattern with within 0.5mm, I adjust the model and hit print.

~ 260mm x 240mm x 24mm

Plonked onto the supercharger and it lines up perfect.

Pressed the bearing in.

It almost looks like a thing…

Off to the workshop to do some machining.

Grabbed a length of 32mm Titanium bar I have laying around and dropped it into the power hacksaw. Where it proceeded to remove most of the teeth on the blade, forcing me to replace the blade with a spare 😛

Into the lathe and send it!

The long side is roughed out, I’ll machine it specifically to suit the pulley after it has been bored.

Bearing fitted on nicely.

Quick test fit, looks like a thing.

A couple of days later, I swung into the workshop and machined the pulley most of the way, just need to do the final bore to size, then finished the shaft to be a press fit.

Till next time!

P2 Supercharger – The Gearbox – Part 1

Since the P2 ships without a gearbox, I’ve got to make one. I did some basic math to work out impeller speeds and motor speeds needed, then decided a 1:2 gearbox on the P2 would be suitable, then a 1:1.8 to 1:2.5 from crank would do the rest if needed.

I ordered a T5 36 tooth timing pulley and a 300mm belt to suit. The belt is a cheap one, just to prove the design, but will eventually be replaced with a high quality Gates belt.

Quick ‘dummy’ fit to give me some idea of how it fits together and it will allow me to transfer that into CAD.

I found that the 6004-2Z bearings were sufficient for the job, being able to handle 30000rpm+, handle the appropriate loads and were affordable (~$13ea).
I bought two for the input shaft and two for spares.

Knocked up this quick design, it will more then likely change as I find out things don’t fit, need tweaked or changed.

Started to 3D print a test, but it failed about an hour in. ~250mm diameter ABS prints are a bit tricky to stop warping, so will switch to ABS for the next go.

Till next time!

P2 Supercharger – What is it?

The Speedmaster P2 Supercharger is a clone/knock off of the Vortech centrifugal range of superchargers.
Unfortunately it ships without a gearbox and is a little pricy for just a core ($1250+).
Until recently….


That’s right, $1295.91 down to $490… And at the time, if you paid with AfterPay, Ebay gave you another 25% off! Yep, for $370, one of these toys could be mine to tinker with and not cost me good turbo / supercharger money…

So as I do with many things, I impulse bought one. I don’t have an immediate use for it, but I believe I have the available tools, skills and knowledge to make it ‘work’ good enough to throw on one of the cars, maybe the 3MZFE when it goes in the AW11. Anyway, it shipped and arrived relatively quick.

It’s fucking huge.

Big boy impeller

Nearly take a full 4 fingers…

While it lacks a gearbox, it does have a simple T5 18 tooth timing pulley on the impeller shaft.

Quality looks ‘OK’. Will see how it looks once it’s being spun by something.

Till next time!

GC8 Engine Rebuild – Part 8

Moved onto wiring up the injectors today, removing the stock Denso plugs and fitting the Bosch ones.

Cut the Denso plug off.

Stripped back some of the plastic sleeve, fitted the rubber seal, crimped and soldered the pins on.

Pushed the pins into the Bosch plug housing.

Slid the seal up over the plug.

Then plugged them on.

Next up will be to play with the fuel pump setup and find a place for the flex fuel sensor to go.

AW11 – Washing off the dust

Having a quiet one today, so pushed the AW11 out of the garage and decided to wash some of the red soil off it.

And the first thing to happen was the tap fitting snapped off the pressure washer…..

So filled a bucket up and got out the old mop and scrubbing

It came up ‘ok’, might see how the paint reacts to a quick cut n polish with the polisher in the future.

GC8 Engine Rebuild – Part 7

Pretty sure there was suppose to be a post prior to this one with some other progress, but here we are!

Working on the fuel system again. Made a hose to go from the fuel pressure regulator to the fuel rail.  

Flattened the brake for to the fuel pressure regulator and ziptied it to the filter body for a bit of strain relief.

Hose clamped the filter and regulator to the factory bracket, then plumbed up all the hoses.

Put the washer bottle back in.

Next time I’ll try to rehash the in tank fuel pump side of things again.

ToyotaFest 18

After a COVID19 nixed the last couple of ToyotaFest’s, this year was a not to be missed event.
With ~230 cars in attendance, I was keen to see what was on display this year.
Below is some photos I took, feel free to head over to the ToyotaFest event page for more photos!

ToyotaFest


ToyotaFest – https://www.facebook.com/events/1242373266323150/?active_tab=discussion
Official Photos – https://www.facebook.com/media/set?vanity=Toymods&set=a.782735463079028